Monday, May 26, 2014

NEW WEBSITE!!

Maple Rose has moved her blog onto her website. 

You will be redirected in a few seconds.

Thank you.

Sunday, April 7, 2013

Poison Ivy for the Rose

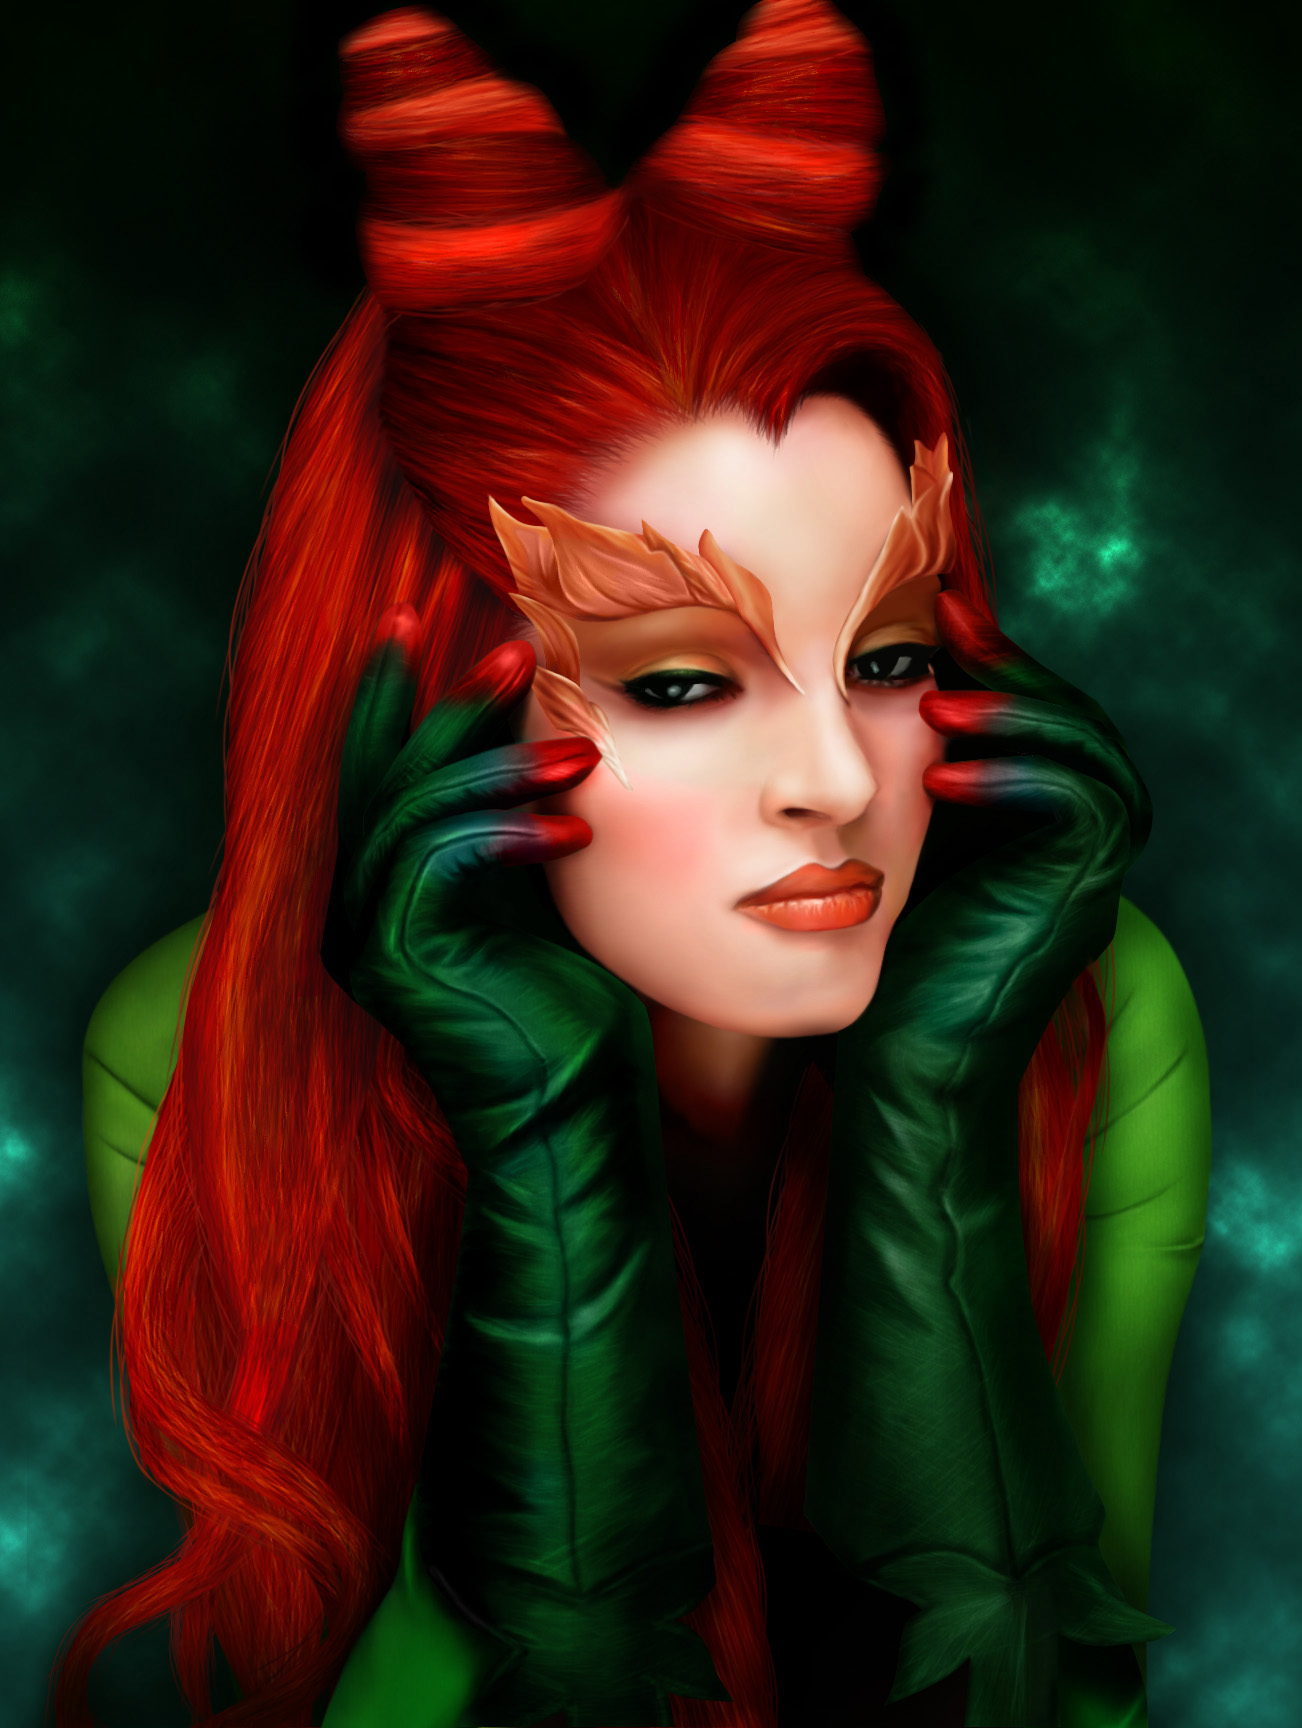
The amazing Drea Rose Deville requested a custom order from Missing James to feature in the first issue of JYNX Alt Lifestyle Magazine coming out this North American summer. A while back she died her gorgeous locks blood red and was inspired to do a poison ivy shoot, so requested a Missing James take on the Batman Vixen. The result - an underbust long line corset dress with matching pasties in an emerald green Chinese brocade with satin panels, velvet boning channels and sequin vine detailing.


The Chinese brocade was bought from a vintage fabric seller off Etsy to create a one of a kind piece. Carefully, I cut out all the panels of the corset - alternating in brocade and plain emerald satin.


Two layers of thick calico in each panel make the corset really strong and a final satin lining keeps it smooth on the skin. The panels are all cut and ready to be assembled.


The first step of assembly is to sew in the busk. Because the corset is a long line corset dress, I used the longest busk available - only 16 inches! There are an extra 4 inches of hem along the bottom under the busk, but this allows the wearer to sit down. For instructions on how to insert a split busk, review an old post from 2010 - http://missingjames.blogspot.com.au/2010/11/inserting-split-busk.html .


A zipper foot makes it easier to sew in the busk.


To make it easier to sew so many layers together, I basted each of the panels so they wouldn't slip and slide while I was making the boning channels.


One all of the panels are sewn together, the boning channels can then be stitched into place.


The corset then begins to take shape:


To be able to tie up the back of the corset, eyelets need to be punched along the back 2 panels for the lacing. I was lucky to have just received my new eyelet punch, so this step of the process was much easier than it has been in the past. 


The corset can now be placed onto a model for a fitting and only a few minor changes had to be made.


After hours of hand finishing the inside seams and sewing on the velvet boning channels, the final sequin details and velvet bias binding could be added to finish the corset.


The finished product!


To top off this gorgeous underbust and make it slightly more modest - a pair of handmade custom pasties to match!


Voila! A burlesque take on the vixen, Poison Ivy.


Tuesday, February 5, 2013

Bella's MBA Costume

The amazing Bella Bee Sweet and I collaborated on her stunning canary yellow costume for the Miss Burlesque Australia Sydney heats and the photos are finally out!! The event was on Friday and supposedly was amazing, but unfortunately I was still on the plane back from Japan. I had made this gorgeous yellow silk under-bust corset for Bella and she finished the rest of her costume with yellow chiffon and lace, and blinged up the whole deal! She looked amazing, and in my opinion, one of the best.


xx
Photo by Nadine Garland

Monday, February 4, 2013

Strut your stuff!

The amazing Monica Strut, head vocalist of the Sydney band, Vanity Riots, asked me to make her a custom rock outfit for their first ever music video that was filmed a couple of months ago (see below). Monica has been incredibly supporting of my work, and I of hers. We've been friends for years and it's great that our passions (costumes, burlesque and music) can colide. I performed at one of her gigs about a year ago as well. Artistic friends always seem to support their artistic friends.

This cute outfit for the star of the show was a collaboration between both of us. I ripped up an old t-shirt and stocked up on every colour of metal stud I could find and created this adorable cute custom denim outfit for this sexy vixen.

This goes to show that Missing James isn't just for showgirls. I have training in design for theatre, so anything goes!


Monica organised this photoshoot. Photos are credited to the stunning photographer, Fiona Grace MacDonald.


return from a foreign land


And so, I'm back!!!!

I had such a fabulous trip in Japan. It was chocker-block full of amazing and exotic experiences that differed each one to the next. Japan is such a friendly country with so much to offer spiritually, traditionally and commercially! I stocked up on amazing kimonos, silk brocades and painted silks for costumes and custom orders, as well as amazing Japanese fashion items for my own crazy wardrobe. I'm currently unpacking and I'm stoked to get started on some costumes!

In other news, Missing James is getting a whole new revamp and is taking all 'off-the-rack' items off the Etsy store and is becoming a completely custom order trade. Any costume or corset design is welcome.

A few brocade silks from Japan will be available for custom orders and single photos of each fabric will be posted on the Facebook Page shortly. Let me know if you're keen on a custom corset in a fabric by commenting below. Prices will start at $300 as the fabric was expensive, and I'll be using only steel boning from now on. 

Hope y'all had an amazing start to 2013! Let the new year finally and truly begin!

xx

Tuesday, January 1, 2013

another year gone by.

Welcome to 2013!!! 


I've just left Australia for Japan and will be spending these first few hours of the new year in Osaka. 

Wishing you all the best for the coming year!


xx
Maple

Monday, December 31, 2012

oriental adventure


I'm currently on my way to Japan! I'm researching for my Masters along the Kumano Kodo Trail near Wakayama, and then travelling to Tokyo, Kyoto and Osaka with a few days of skiing in between.

Missing James will be closed for all of January but will reopen on February 2nd when I get back. You may guess that I'll be loaded with piles of Japanese silks - so if anyone is keen on a custom japanese silk costume let me know ASAP as I'll get a specific colour for you.

Have a fabulous January and I'll see y'all when I get back! In the meantime I'll leave you with a stunning pin-up by the Japanese illustrator OneQ (check out more amazing pin-ups here http://beautifuldecay.com/2012/02/29/oneqs-japanese-comics-collide-with-american-pin-up-girls/)


xx

Maple


Tuesday, December 25, 2012

be jolly.

Merry Christmas, one and all!


Hope today is full of love and family.

Wishing you all the best.

xx
Maple

Saturday, December 22, 2012

leave of absense.


Dear Customers,

Merry Christmas and Happy New Year! Unfortunately, Missing James will be offline until February in the New Year, as I will be travelling for research for the month of January. The store will open again on Feb 2nd. I am sorry If this causes any inconvenience. I am still available to contact via messages so if you have any queries please do not hesitate to ask as I will try to read my messages as often as I can.


Best wishes,

Maple Rose

Friday, December 21, 2012

a burly yuletide Christmas special

Come to Dome Bar tonight for an extra special Christmas extravaganza hosted by the burly girls - Lauren LaRouge, Danica Lee, Holly J'aDoll and Maple Rose! 


Wednesday, December 19, 2012

Christmas Update

It's less a week till Christmas and we're gearing up here at Missing James to get orders done for Miss Burlesque Australia! Sequins are flying fast here at Missing James headquarters.
Like ·  · 

Monday, December 10, 2012

Flower Costume by Missing James


Here's a full costume shot done by the amazing Zoran at Dream photography. Make up by Nick Plummer.

Tuesday, December 4, 2012

peak a bloom!

Here's another peak at the photo shoot of my Flower Act with Zoran from Dream Photography with make-up by Nick Plummer!


Monday, December 3, 2012

dancing in the dark

Below are photos from my recent photo shoot with Alex from Hoi Images. It's our take on "20s fetish burlesque" with make up by the amazing Nick Plummer.

I'm wearing the classic Black Beaded Fringe Waist Cincher by Missing James. Custom orders for this corset are available at the Etsy store.


Friday, November 30, 2012

Bloom me up, Scotty

I've been dying to create a flower costume every since I designed the perfect flower tutu for Pippin that was cut even before we started making it. Luckily, all the materials were already bought by the production, so when it came time to make a flower costume for myself I had everything I needed already! The only good thing that came out of that production :D

So when the final Peel for 2012 came up, I knew it was the perfect opportunity to break out the flowers. Dancing to "White Rabbit" by Grace Potter and the Nocturnals, a tutu wasn't quite appropriate so a belly dance costume was made and moved tantricly with me.

The final piece-de-resistance was the unravelling of the skirt, which was a design element from the beginning. The final piano solo of the music works perfectly for this act, and stripping down to the breathtaking c-string.

Below are the preview shots from my photo shoot with the amazing Dream Photography. Make up and Body Paint was done by Nick Plummer.


more ruffle to my backside

After a bit of though I added more ruffles to the ruffle undies I made yesterday to create more a tutu effect. More is always better!


Thursday, November 29, 2012

ruffle my bum

Today I spent the day sewing a cute pair of ruffle undies for a client. I thought this would be a fun little project to share as the final result are adorable yet modest, and quite easy to make.

For this specific project I modified the Colleterie's pattern of these adorable bloomers. Go to the website below to download this easy pattern.


I've used this pattern a few times for costumes, but this pair called for something shorter and sitting higher on the waist. I used tracing paper to drafted a new pattern with these specifications.


Then I cut the pattern out of red satin.


To stop the fabric from fraying during the sewing process and wear, all edges of each piece were overlocked.


I then placed both A pieces together and both B pieces (with wrong sides out) and ran the front and pack seams of the undies to create a front half and a back half.


I then attached the front to the back by creating a crotch seam and the side seams. Again, making sure wrong sides are facing out.


Now after only a few easy steps - I've made a pair of shorts!


To create the bloomers, a hem along the top and leg seams was made large enough for the elastic to be pulled through to scrunch up the fabric. I made sure to leave a gap in the seam so you can pull through the elastic.


To create the ruffles, I cut stripes of black fabric and sewed them together to create a really long strip, almost 2m long! Folding it in half, I ran a seam along the long edge to create a tube and then turned it inside out. This process took a while and was a little bit frustrating - but a good TV show always makes it a little bit easier.


Then, I sewed along the middle of the tube in large stitches and pull to scrunch up the fabric. I pinned the ruffles onto the undies while doing this to save time and to find out how much tubing I needed to go around.


I hand stitched all the ruffling down and added a second strip. You could do this on the machine if you wanted to save time - but I don't like how a sewing machine flattens the ruffles in this process.

To finish the panties I pulled the elastic through the waistband and the legs and VOILA!