Showing posts with label Production Design. Show all posts

Tuesday, November 27, 2012

Bigger than Bells

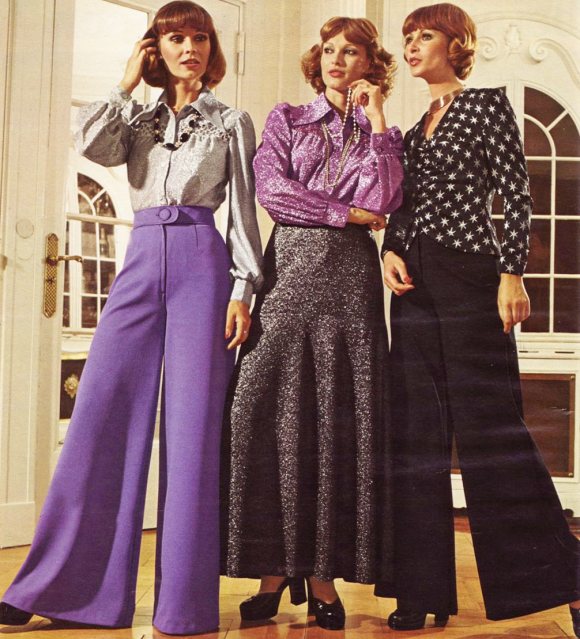
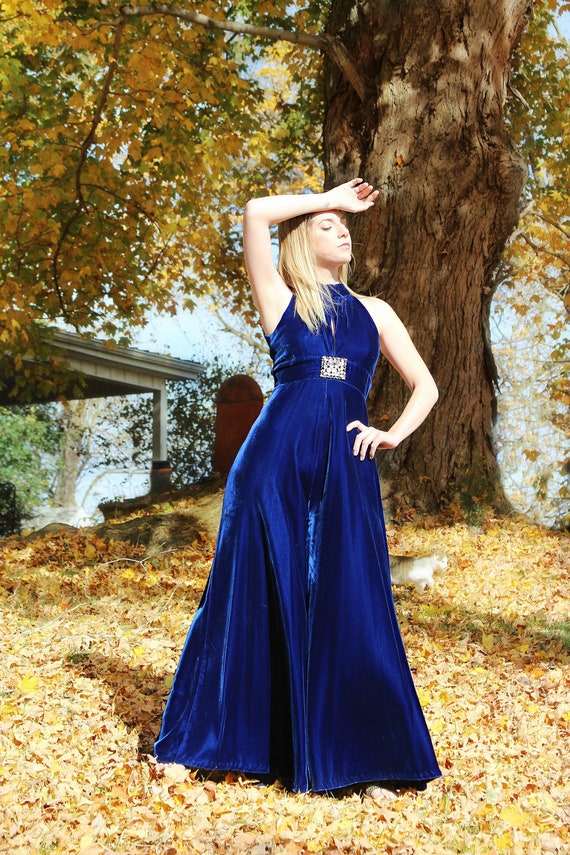
I'm currently working on some amazingly LARGE bell bottoms. Research for this project has just been mind blowing - how much fabric can really go into a pair of pants!?!? Just type in Wide Led Large Bell Bottoms in Google Images and the most extravagant pants appear.

It's amazing what you can do with a pair of pants! They can be so big you can make a skirt out of them, or the bell is so large they wing out, or you cross the front and back over to create the most amazing slit up the side of the leg!
On my travels through cyber space I came across this handy little blog post on how to make your own Bell Bottom yoga pant! It's easy to follow and the results look fantastic! My bells are quite larger than this and a teeny weeny bit more sparkly, but it's a good place to start!

Check out Me Sew Crazy and cute tutorial on DIY Bell Bottom Yoga Pants!

Below is a collection of my image research. It was a blast looking at all of these - some are amazing and some are just hideous!


Wish me luck on my time travelling trip back to the 70s!

Sunday, November 11, 2012

Alice's Talking Flowers

For my next act I've decided to create the most amazing flower costume yet. After designing PIPPIN last year, I have a garage full of unused fake flowers that were bought to make gorgeous burlesque costumes for the production but were never used. The sexy rendition of "White Rabbit" by Grace Potter and the Nocturnals creates the best narrative for an onstage performance by one of Alice's talking flowers. The costume will consist of a large head piece, flower covered bodice and skirt - very eastern influence with a belly dancing touch. The piece-de-resistance will be that the skirt unravels into a flower garland to show the bits all audience members want to see - a c-string underneath! This is the furthest I've ever gone, and I'm feeling quite comfortable about it because I'll have full body paint done by the amazing Nick Plummer (MUA). Nick and I have been friends for years and have worked together closely on many productions (including PIPPIN) as costume designer and assistant. With the costume by Missing James and the make-up by Nick Plummer, I don't think Alice's flowers will have ever looked so good!


Check out Nick Plummer's work on his facebook page and please 'like' it!

Wednesday, August 22, 2012

What's Next?

So, I guess some of you are wondering what's next on the cards for Miss Maple Rose and her designs? Well, next week on August 29th, Miss Maple will be headlining the Queen of Diamond's Edition of THE PEEL, debuting her new ELIZABETH I act.

Yes, that's right, the little red headed rocket will be impersonating the most famous red head in history, THE VIRGIN QUEEN.

The dress is going to be an act in itself - a modern take on the Elizabethan wide skirt and carrying a tea pot and cup.  Beautiful sequin black silk will adorn the bodice and thick red velvet will make up the skirt. These glamourous garments will slowly be peeled off to reveal the woman underneath.

So come down to the Slide Bar on August 29th for  yet another PEEL!!! Tickets only $10 and available from the Slide Bar Website...http://slide.com.au/shows/the-peel/

Monday, August 20, 2012

Missing James and Philippa Gregory

Recently I was designing a show at the New Theatre in Newtown (Entertaining Mr. Sloane), and the stage manager turned out to be a window dresser. To my surprise, she was incredibly interested in production design and asked to help out with the dressing of the set. I was so glad to have an extra set of hands and we hit it off.

A few weeks later she researched Missing James and found all the gorgeous costumes that are custom made. She contacted me and asked if I would be interested in helping her find costumes for the window dressing for Philippa Gregory's new book, The Kingmaker's Daugter, in the Dymocks on George Street. I was ecstatic! The opportunity to create and then get free advertising on George, win!

So, with my help, the window is now up. Missing James designed all the costumes but also made the Queen's. The gown is a sage brocade with a gold underlay and an adorable green velvet cape drapes over her shoulders. I feels so regal.


If you've popped onto this blog because you saw my work on George Street, please also find me on Facebook and Etsy. The links are in the column on the right.


Thursday, June 21, 2012

Bye Bye Marie

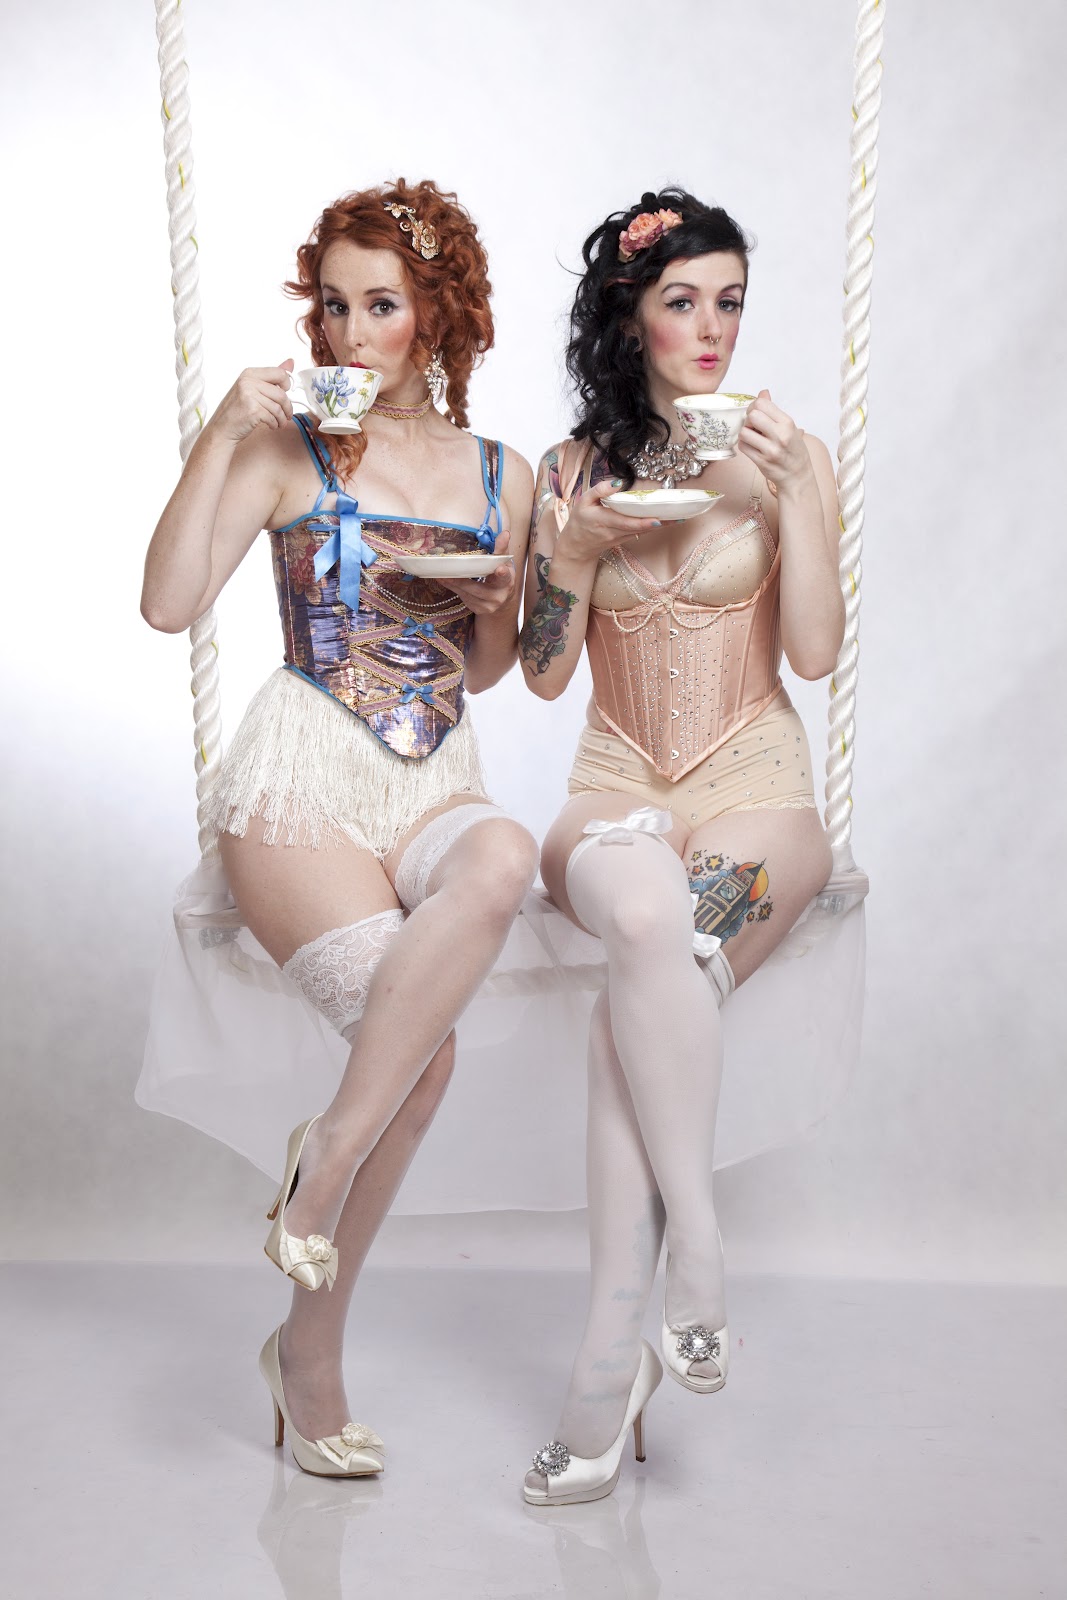
My beloved Marie Antoinette costume has been sold on Etsy! It's now off to a beautiful new home in America where I'm sure it'll get a lot of love - but I'm missing it already. Here's a quick tribute to my time with Miss Marie. She was made at the NIDA corsetry course and the skirt added later for the photo shoot with Tim Dennis in the Rocks. She then sat in the closet for ages waiting on Etsy until she was revived in the stunning "Let Them Eat Cake" photo shoot by Dream Photography with Maple Rose and Drea Rose modelling her.

She has been loved and lost. 


Oh well. I've got more fabric. I can always make another.

Photo by Dream Photography

Photo by Dream Photography


Photo by Dream Photography


Photo by Dream Photography


Photo by Dream Photography


Photo by Tim Dennis

Photo by Tim Dennis


Find more stunning creations by Missing James at the Etsy store.

More to come.

Friday, December 9, 2011

PIPPIN @ Sidetrack Theatre


My latest show is up and running and it's a beauty!! The Broadway hit PIPPIN has hit the shores of Marrickville in an amazing "medieval" travelling troupe version directed by the beautiful Benita de Wit. It was a hard one to get up and running, but after so much hard work by myself and the whole production team, it's looking fantastic!

Catch PIPPIN at Sidetrack Theatre on now until December 17th, 2011. It's a very short run, so don't miss out!!!

There are some outstanding performances, including a gorgeous drag number by Gaynor Tension and a cute little burlesque number.

Tickets are on sale now at http://www.sidetrack.com.au/


Saturday, April 16, 2011

Elizabeathan Designs with a Zip of a Twist!

I was reading the papers this morning with my parentals during my trip home to Cronulla. It's a tradition in our family, as we're all big paper buffs. We each have our own sections - Dad has business and drive, Mom has the real estate and cooking, and I have all of the arts section. Today in the Sydney Morning Herald was an amazing article on Helen Mirren, and her philosophy of acting and her new role playins Prospera (instead of Prospero, a male part) in the up and coming version of The Tempest. But what was more important to me was the photo that accompanied the article. It was a screen shot from The Tempest, all the characters dolled up in the primarily Elizabeathan style (although quite spanish as it's set in the Spanish Islands, but the same period in history) that is common to Shakespeare, however, all of the costumes were made out of zippers! Yes! Zippers! How cool is that? The new fad in DIY Fashion has now hit motion pictures and changed the way we look at historical costumes.

The costume designer is Sandy Powell, and obviously worked really closely with production designer Mark Friedberg, as the whole movie is set in really dark tones. Director Julie Taymor allowed full reign and freedom for the designs, as inspiration was taken from many sources: paintings by historical painter Velazquez, fashion house Balmain, Marc Jacobs and DIY fashion bloggers around the globe. The metal zippers represent the underlying violence of the Spanish Conquistadors. 

Check out this article from Vogue for more information on the different costumes for the characters. I think this is one of the first times in history that a historical movie has been flipped on it's back with inspiration from modern fashion to such an extent. This makes it art - not just costume.

Photo from: Cinematic Passions

Thursday, April 7, 2011

Burlesque Soldier Costume

I've been inspired for another burlesque costume! A soldier costume - red satin corset with gold braiding and a red feather skirt, with body armor epaulettes.

I was inspired by Outsapop's post on leather body harnesses and found the most stunning brass body armor on the Etsy store, binkaminka by Inta Rigava (She's also designed the most stunning "bear claw" epaulette armor). I've been wanting to make epaulettes for a while, but got so bored with all of the current fashion trends that include them. They've just been overused! But these harnesses and armor take the cake! They take the idea and turn into high fashion! I'm just trying to figure out how they stay on your shoulders. Fashion tape?

I've also had this gorgeous blood red feather boa on the floor of my room for a few weeks since a friend left it. It's the most gorgeous shade of red - perfect for a soldiers costume! I'll just need to track down a second boa to match (or in black) so I can make the feather skirt like my Candy Stripe Circus Costume.


So using both the inspiration from the armor and the feather boa, I've designed this:

I just keep on thinking of my soldier costume when I was 10 in the Nutcracker. Quite a different take - but still that little tin soldier.

I'm excited to start - hopefully I get off my ass and actually make this thing.

Tuesday, April 5, 2011

Ballet Russes Sketches

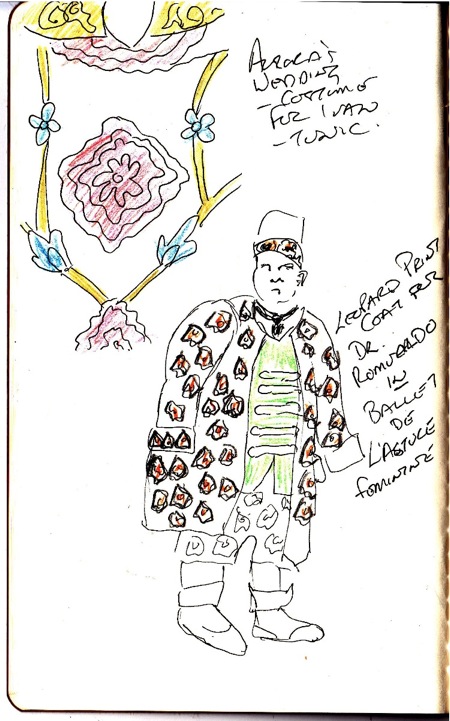
The Ballet Russes: The Art of Costume exhibition at the National Gallery of Australia was absolutely breathtaking. All the work was so inspiring, it's such a shame that costume design really isn't like that any more. The gallery focused on the designers work more than anything - exhibiting all the costume sketches and paying particular attention to the "artist" designers such as Picasso, Matisse and Giorgio de Chirico. Leon Bakst was the prize designer of the Ballet Russes with most of the exhibit dedicated to his work. But no wonder! His sketches were so detailed and the costumes were immaculate.

I want to share what I saw with you, but of course because it was an exhibit I wasn't allowed to take photographs. So I sketched instead. Below is a few of the pages in my notebook describing what I saw and absorbed.


Sunday, February 6, 2011

Mardi Gras!

It's been just less than a month since my last post, but I have a VERY good excuse. I was asked to be the costume designer on Canary and was given 2 weeks to do the job. Canary is a beautiful show on at the New Theatre (it opened Wednesday the 2nd of Feb) about the change in the acceptance of homosexuality since the sixties. The script is heart-wrentching; I highly recommend it.

As I said, I was given 2 weeks to pull this show together. When I got the gig, I was so excited to work on a Mardi Gras show - sequins and feathers! But no, it's much more serious, but still as beautiful. There are only 8 actors, but there are at least 30 characters! So lots of costume changes and lots of characters to think of, making my job a lot more difficult than I thought. But I believe it worked out really well.

Canary is on at the New Theatre in Newtown until the 5th of March.

Thursday, October 21, 2010

OutsaPop Does it again/The Sweetest Thing

The latest posts on OutsaPop are SO inspiring for 2011. Balmain's DIY fashion friendly show shows amazing studded jackets, ripped tees, faded jeans and paint splatters.  I think my next wish items to create are the amazing studded and safety-pin denim jacket (or leather, whatever I find), paint splatter jeans and American (well, Canadian) faded tee shirt. There is also this amazing heavy metal bow tie - another quick and easy DIY I'm drooling over.


***


I'm currently designing "The Sweetest Thing" written by Verity Laughton and directed by the amazing Sarah Goodes for B Sharp, Belvoir St. Theatre's Downstairs Theatre. That's the reason why I'm been a bit AWOL lately. It's a beautiful show about sisterly love, the "dependence on initial conditions" and how a small spark can change everything. With a colour scheme of Jaws, a set inspired by chaos invading on order, and lighting so beautiful it will make you weep, I think it's a fantastic show to begin to close B Sharp's season. 


Tickets are available now HERE. The show opens October 29th and runs until November 21st. 


***


Next week is production week, but after that I'm taking the month off to start moving out and to get a few personal projects done. That means Missing James will pick up a bit more, so I hope you all tune in.

Thursday, September 16, 2010

Finale

"The Schelling Point" finally finished this weekend. Find photos and my sketches on my Production Design webpage to see what I actually do for a living.

Monday, September 6, 2010

LAST CHANCE!!!

"The Schelling Point" has 5 shows left, and I hear that 2 of them are already sold out. Get your tickets now HERE or you may miss out, and that would be very unfortunate.

Monday, August 23, 2010

3 Weeks Left

I do appologise for being absent, but the play and visits from friends have taken up all my time.


Just a reminder for y'all to buy tickets. There are only 3 weeks left of the show, so get onto it quickly or you may miss out.

Buy tickets HERE

Tuesday, August 3, 2010

Tuesday, July 20, 2010

Wednesday, July 14, 2010

DIY: Romantic Tutu


Tutus are a classic DIY project. They are so easy to do and always have a fantastic result. Here's how I made my romantic tutu for "The Schelling Point."

Step 1: Get lots and lots of toile. I got 4m of stiff toile (if that's the name), 2m of soft toile and 2m of a pretty sparkly fabric like toile for the top layer.


Step 2: Cut all the toile into widths of 28 inches (the length of the skirt you want to make).

Step 3: Measure your waist and then cut and needle some thread (doubled) to that length, plus 15cm. You will use this to gather your toile to the length of your waist.


Step 3: Tie a knot with the threat at the end of the toile. Because it's a netting material, you'll need tie the ends together.


Step 4: Make a running stitch along the top of the toile to gather it together.


Tie a knot at the end.


Step 5: Repeat with the other layers of toile.

Step 6: Sew the top layer (the sparkly layer) to the 2nd layer. Lay out the top layer with the wrong side up, and then flip the 2nd layer so it is upside down, pin, and sew along the waistline. I hope that makes sense. By doing this you're creating more body in the skirt due to stiff layers facing up instead of down.


Step 7: Sew the bottom layer onto the rest of the skirt. You don't need to flip this layer upside-down because the tough toile is strong enough to keep its shape without needing the extra lift.


Step 8: Sew threw all the layers on the sewing machine. This will give it strength.


Step 8: To create the ribbon to tie the skirt together, cut out a 1.5m long strip of fabric that is about 20cm wide. Find the middle and measure the width of the waist and mark the ends with a pin.


Step 9: From the end of the strip to the end of the measured waist, pin the two ends with the right sides together and sew. Remember to stop sewing where the waist starts!


And sew both ends of the ribbon!


Step 10: Cut the ends of the ribbon on diagonals and sew together


Step 11: Turn the ribbon right-side out and iron flat.


Step 12: Baste under the edges of the middle section of ribbon. This is where you will attach the ribbon to the skirt.


Step 13: Litterally shove the skirt into the pocket you've made in the waistband and sew all the layers together. Do this on the sewing machine first (be careful because I broke my needle) and then go over by hand if you missed any sections (you will most likely miss sewing the back of the waistband onto the skirt.

Step 14: Remove all your basting.

Step 15: Prance around in you're new tutu and uggs!